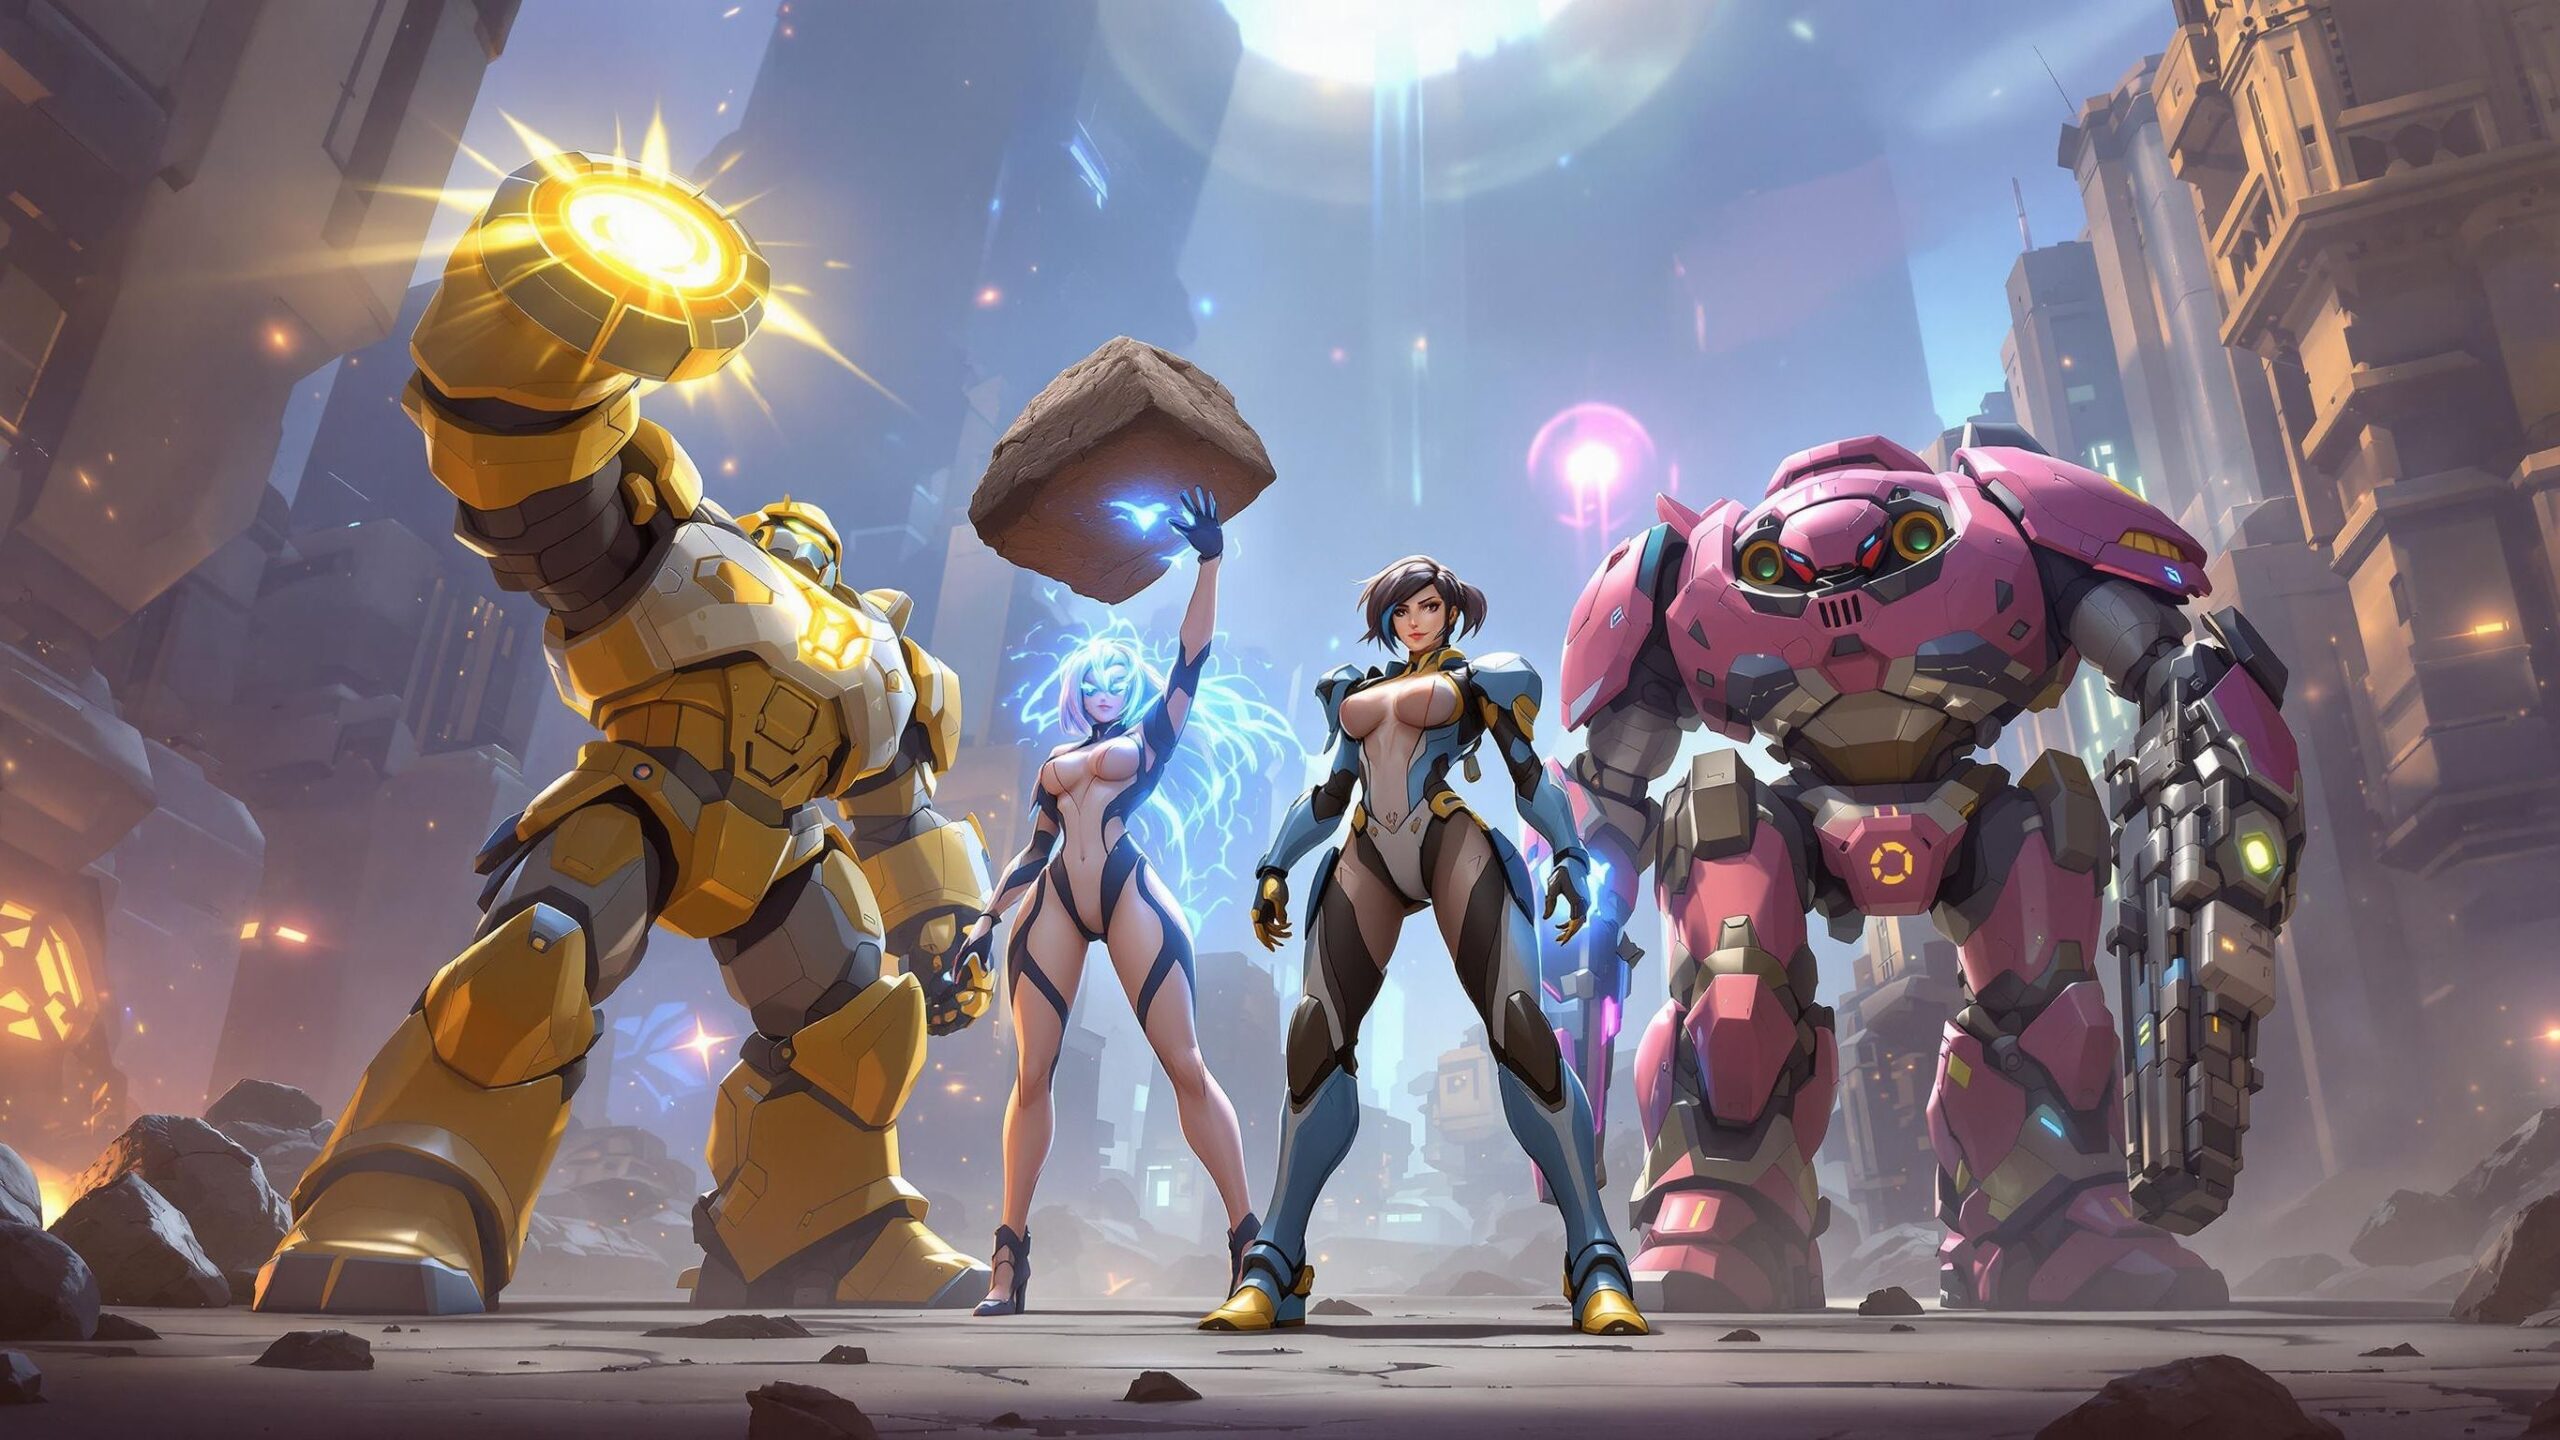
In the fast-paced chaos of Overwatch and Overwatch 2, tanks are more than just frontline brutes—they are the anchors that dictate the tempo of every fight. Whether leading a push, absorbing an ultimate, or peeling enemies off vulnerable teammates, a tank’s ability to survive makes the difference between victory and defeat. Survivability isn’t just about having a big health pool. It’s about self-sustain abilities, defensive cooldowns, crowd control tools, smart positioning, and the skill to minimize risks while maximizing pressure. A tank who can live longer forces the enemy to waste precious resources and allows their team to dominate objectives. Over time, certain tank heroes have emerged as the toughest to bring down, thanks to their kit synergy and playstyle flexibility. These tanks not only take damage—they control it, manipulate it, and sometimes feed off it to become even harder to kill. From brawlers and barriers to mobile disruptors, here are the top 10 tank heroes ranked by their sheer survivability under fire.
#10: Doomfist
When Doomfist transitioned from a DPS menace to a full-fledged tank in Overwatch 2, players weren’t sure what to expect. But Blizzard’s redesign gave him new tools for survival that, in skilled hands, make him surprisingly hard to kill. Unlike traditional tanks who rely on armor or shields, Doomfist’s survivability is built around mobility, disruption, and damage mitigation. His Power Block ability reduces incoming frontal damage by 80%, and if he absorbs enough, it powers up his next Rocket Punch for devastating effect. This mechanic encourages aggressive engagement, absorbing key cooldowns and ultimates before diving out with Seismic Slam or Rocket Punch.
What makes Doomfist unique as a tank is how much control he has over the terms of engagement. His high mobility lets him enter fights explosively, create chaos, and then escape before enemies can focus him down. In chaotic team fights, this agility becomes crucial—good Doomfist players become impossible to pin down, darting between supports and backlines like a wrecking ball of momentum.
However, Doomfist’s survivability isn’t passive. Unlike Orisa or Sigma, who can simply tank large amounts of raw damage standing still, Doomfist requires constant movement, careful cooldown management, and mechanical finesse. A mistimed Power Block or a missed Rocket Punch can leave him wide open for punishment. Furthermore, stuns, crowd control, and anti-healing abilities can completely ruin his rhythm, exposing his relatively small health pool for a tank.
Despite these vulnerabilities, when Doomfist is played with precision, he becomes a disruptive force that soaks enormous amounts of enemy attention without dying. His ability to split teams, draw cooldowns, and survive through sheer slipperiness makes him a valuable asset—especially in chaotic or disorganized fights where enemies struggle to focus fire. Doomfist rewards players who think quickly and act decisively. He might not be the most straightforward survivor on this list, but when it comes to active, dynamic survival in Overwatch 2, Doomfist earns his place.
#9: Junker Queen
Junker Queen storms onto the battlefield with a brutal, close-quarters kit built around sustain and aggression. She isn’t a tank that hides behind a shield or passively soaks damage—she thrives on getting in your face, dealing damage, and using that damage to heal herself through her unique passive, Adrenaline Rush. Whenever she inflicts wounds on enemies, Junker Queen heals for a portion of the damage over time, giving her a vicious kind of survivability that scales with her aggression.
Her kit is built entirely around staying alive while brawling. Commanding Shout provides a temporary health boost for herself and allies, allowing her to survive crucial pushes and rescue teammates mid-fight. Carnage, her axe sweep, inflicts wounds across multiple enemies, rapidly stacking healing. Meanwhile, Jagged Blade not only allows her to pull enemies closer for kills but also applies a bleeding effect that fuels her passive healing even more.
In duels and brawls, especially in enclosed spaces, Junker Queen becomes a nightmare to kill. Her survivability increases exponentially with the number of enemies she’s wounding simultaneously. In coordinated team fights where enemies group up, Junker Queen can effectively become an unstoppable juggernaut, constantly healing herself faster than enemies can burn her down.
However, her survivability does have significant limitations. Junker Queen is highly vulnerable at range; snipers, hitscans, and poke-heavy comps can whittle her down before she ever gets close enough to activate her lifesteal. Furthermore, crowd control abilities like stuns or displacement can ruin her momentum. She has no traditional barrier or large-scale defensive tool to mitigate incoming burst damage beyond her Shout, meaning positioning and timing are critical to her survival.
Despite these weaknesses, in brawls and aggressive skirmishes, Junker Queen’s ability to sustain herself under fire can feel overwhelming. Her survivability isn’t passive—it’s earned through constant, ferocious combat. Good Junker Queen players know when to dive in, how to manage their cooldowns, and how to juggle aggression with survival instincts. In maps and comps that favor close-range brawling, she becomes nearly unstoppable, living longer not because she hides from damage—but because she thrives inside it.
#8: Wrecking Ball
Wrecking Ball (aka Hammond) approaches survivability in a completely different way than most tanks—through unmatched mobility and disruption. Rather than absorbing damage head-on, Wrecking Ball survives by being impossible to pin down. With high base health, a massive adaptive shield generation ability, and constant movement potential, Ball lives longer by simply never being in the same place twice.
His Grappling Claw lets him swing around maps at incredible speeds, giving him the ability to contest objectives, peel for teammates, and escape deadly situations in ways no other tank can match. His Piledriver ability further adds to his slipperiness, allowing him to knock enemies airborne and disrupt their aim, buying himself valuable seconds. Perhaps his strongest survivability tool, though, is Adaptive Shield—generating bonus shields based on how many enemies are nearby, allowing him to dive in, cause chaos, and disengage safely.
A smart Ball player is incredibly frustrating for enemies to kill. Even when low on health, he can escape to a health pack in seconds, rejoin the fight moments later, and keep objectives contested while the enemy burns resources trying to pin him down. His hit-and-run playstyle makes him an annoying, durable presence that can survive through sheer elusiveness.
However, Wrecking Ball’s survivability heavily depends on player skill and map knowledge. In open maps with lots of environmental mobility options, he shines. But in enclosed maps or against heavy crowd control compositions, he can be stunned, hacked, or trapped before he can escape. Sombra’s Hack, Junkrat’s Trap, or even a simple Ana Sleep Dart can be fatal if poorly timed.
Still, in terms of raw survival through disruption and mobility, few tanks can match Wrecking Ball. His ability to frustrate, outlast, and constantly re-engage from unexpected angles makes him a survivability monster in the hands of a skilled player. He doesn’t survive by brute force—he survives by turning the battlefield into a playground that no one else can follow him across.
#7: Roadhog
Roadhog has always been the poster child for self-sustain in Overwatch, and even with the changes introduced in Overwatch 2, he remains one of the tankiest heroes simply because of his unparalleled healing capabilities. Unlike other tanks who depend on shields or mobility, Roadhog survives through sheer health regeneration and a massive pool of raw HP. His Take a Breather ability lets him heal a massive portion of his health while reducing incoming damage, giving him incredible mid-fight endurance that can turn the tide of a battle.
Roadhog’s survivability is also enhanced by his threat level. His Chain Hook punishes enemies who get too close or position poorly, often resulting in instant eliminations. This forces opponents to keep their distance, making it harder to focus him down without risking death. Plus, when an enemy gets hooked and eliminated, that’s one fewer source of incoming damage to worry about.
Another underrated aspect of Roadhog’s durability is psychological pressure. Enemies have to constantly consider their positioning relative to Roadhog, making it harder for teams to push aggressively or overcommit. His mere presence alters the enemy’s tempo, allowing him to control the battlefield simply by existing near key chokepoints or objectives.
However, Roadhog’s survivability is far from flawless. His massive hitbox makes him easy to focus down if he overextends or if enemies coordinate well. Against heroes with heavy burst damage or anti-healing effects—like Ana’s Biotic Grenade—Roadhog’s healing can be negated, and he can melt quickly under focused fire. He also lacks true mobility; once he’s committed to an area, escaping becomes difficult without a clean environmental advantage.
Despite these vulnerabilities, in terms of surviving raw encounters and frontline battles, Roadhog remains a nightmare to kill without coordination. His ability to heal massive amounts of health instantly, threaten squishy enemies, and soak up damage makes him a solo tank capable of outlasting even the deadliest enemy pushes if managed correctly. In chaotic games, few tanks can endure as stubbornly and individually as Roadhog can.
#6: Sigma
Sigma offers a different brand of survivability—one built on calculated defense, perfect ability timing, and controlling the flow of battle. His Experimental Barrier is a flexible, floating shield that he can reposition dynamically to block key angles or soak up key ultimates. Combined with his Kinetic Grasp, which absorbs incoming projectiles and converts them into overshield health, Sigma is uniquely positioned to nullify enemy aggression without even taking much damage.
Unlike traditional shield tanks like Reinhardt who must commit their entire body behind a static barrier, Sigma uses his abilities like a chess master. He can throw his shield forward to protect an ally, yank it back when needed, then absorb a Pharah rocket barrage or Soldier’s Helix Rocket with Kinetic Grasp, giving himself bonus survivability on demand. His Accretion ability also offers a small crowd control tool—knocking down enemies who get too close, giving Sigma vital breathing room in high-pressure fights.
Sigma’s true survivability strength lies in his versatility. He can tank damage at range, stall close-range threats with clever shield positioning, and sustain himself through enemy ultimate’s that would destroy less flexible tanks. A good Sigma player is incredibly hard to kill, using barriers, shields, and angles to mitigate massive amounts of incoming fire without even relying on traditional healing as much as other tanks.
However, Sigma has weaknesses. He’s highly vulnerable when caught off-guard without cooldowns available. Dive compositions, especially mobile heroes like Winston or Genji, can outmaneuver him before he can set up effective defenses. His mobility is limited—he’s slow on the ground and relies heavily on environmental positioning.
Still, when played smartly, Sigma becomes a master of survival through denial and control. He doesn’t just survive damage—he prevents it from ever happening, making him one of the most frustrating tanks for enemies to deal with when positioned and played effectively. His blend of mitigation and resilience cements him as one of Overwatch’s toughest tanks to kill in the hands of a disciplined player.
#5: Orisa
Orisa’s transformation in Overwatch 2 turned her into a juggernaut of pure resilience. No longer a slow-moving, shield-focused anchor like in the first game, Orisa now excels through aggressive defense, massive health sustain, and an ability to absorb staggering amounts of punishment without backing down. At the heart of her survivability is Fortify—a cooldown that reduces incoming damage, grants crowd control immunity, and prevents critical headshot damage. Pop Fortify at the right moment, and Orisa becomes nearly unkillable for several seconds, shrugging off stuns, sleep darts, freezes, and huge bursts of focus fire.
But Fortify is just the beginning. Orisa’s Energy Javelin allows her to disrupt and stagger enemies mid-fight, providing crucial breathing room to finish off threats or escape pressure. Her Augmented Fusion Driver grants consistent midrange damage without reloading, allowing her to maintain pressure while defending herself. Finally, Terra Surge, her ultimate, is not only a lethal damage dealer—it pulls enemies toward her, locks them in place, and massively boosts her own damage resistance during the charge-up, making her absurdly difficult to kill even when she’s surrounded.
The magic of Orisa’s new design is how actively she survives. Unlike passive shield tanks, Orisa thrives on moving forward into the enemy team, trading health for pressure, and using her cooldowns to outlast entire engagements. Her high base health and armor, combined with her damage reduction and crowd control immunity, make her a nightmare to kill unless enemies coordinate perfectly.
However, Orisa isn’t invincible. Poorly timed Fortifies, missed Javelins, or overextensions can leave her vulnerable once cooldowns are down. Heroes who can burn through her armor quickly (like Bastion or Reaper) can dismantle her if she gets caught without support. Still, when played with discipline and smart ability management, Orisa can feel like an unstoppable wall of iron—standing her ground where others would fall.
In a game increasingly focused on tempo and burst, Orisa remains one of the purest survivors in Overwatch 2. She endures not by avoiding damage, but by being simply too strong to break.
#4: Winston
Winston brings a different flavor of survivability to the table: controlled mobility, barrier protection, and the ability to dictate the pace of an engagement. He doesn’t tank through sheer armor like Orisa or healing like Roadhog—instead, Winston survives by picking when and where fights happen, forcing enemies to react on his terms.
With his Jump Pack, Winston can initiate fights from unexpected angles, land onto squishy backliners, and immediately bubble himself with his Barrier Projector to block incoming fire. His barrier doesn’t just shield him—it divides fights, cutting off healing lines and allowing him precious seconds to survive even under intense pressure. After committing, he uses his high base health pool and bubble cycling to either finish key targets quickly or disengage before enemy focus fire can collapse onto him.
What elevates Winston’s survivability even further is Primal Rage, his ultimate ability. Popping Primal Rage instantly restores Winston’s health, increases his movement speed dramatically, and lets him knock enemies away with wild swings. In this state, Winston becomes almost impossible to pin down, surviving and disrupting even the tightest enemy formations. A good Winston can solo-delay objective points for astonishing amounts of time just with Primal Rage alone.
However, Winston’s durability is skill dependent. Poorly timed dives, mistimed barriers, or lingering too long after a dive can see Winston shredded very quickly. Heroes like Bastion, Reaper, and Sombra can counter him effectively if he isn’t cautious.
Despite this, when played intelligently, Winston feels nearly unkillable. His ability to choose his battles, his quick barrier deployment, and his ultimate’s complete health reset make him a survivalist through and through. A strong Winston controls the chaos—he doesn’t just dive into fights, he dictates when the fight happens, and when it ends.
#3: D.Va
D.Va is the ultimate queen of adaptability and survival in Overwatch. While her individual health pool might seem smaller than that of some other tanks, her true power lies in her multi-layered defenses and sheer mobility. With boosters that allow her to fly across the map, D.Va can escape bad situations, chase down stragglers, or peel for her teammates at a moment’s notice. Her Defense Matrix, one of the most potent abilities in the game, allows her to absorb incoming projectiles—including ultimates like Zarya’s Graviton Surge or Hanzo’s Dragonstrike—for a short period, effectively nullifying massive amounts of damage before it ever hits her team.
This mix of mobility and mitigation makes D.Va almost uniquely suited to survive encounters that would overwhelm slower tanks. When threatened, she can quickly disengage with her Boosters, regroup, and return to the fight within seconds. Her ability to cycle between absorbing damage, dealing burst damage with Micro Missiles, and physically body-blocking with her mech makes her a multi-tool survivor who thrives in chaotic fights.
Even when her mech is destroyed, D.Va isn’t out of the fight. Her pilot form remains active, allowing her to stall objectives, pick off weakened enemies, and farm up her next mech call much faster than enemies expect. This second life mechanic massively boosts her effective survivability compared to tanks who simply die once their health is depleted.
However, D.Va isn’t without her weaknesses. If caught out of position without cooldowns, she can be burst down extremely quickly, especially by coordinated dive teams or anti-armor heroes. Her survivability heavily depends on mechanical skill, smart use of Defense Matrix, and excellent spatial awareness.
Still, when piloted correctly, D.Va feels almost untouchable. She’s not about brute-forcing her way through damage—she’s about outmaneuvering it, denying it, and punishing overextensions. Her ability to survive across multiple engagements, avoid dying outright, and reset her mech in critical moments makes her one of Overwatch’s most durable and frustrating tanks to eliminate.
#2: Reinhardt
Reinhardt has been a pillar—literally and figuratively—of tank play in Overwatch since the franchise began. His giant barrier shield and towering frame offer classic, old-school survivability that remains just as crucial in modern Overwatch 2. What makes Reinhardt so enduringly strong is how his entire kit revolves around both defense and punishing counterattack.
His Barrier Field can absorb massive amounts of damage, protecting not just himself but his entire team. Strategic shield placement allows him to block enemy ultimates like D.Va bombs, Cassidy Deadeyes, and incoming burst damage from Widowmaker or Soldier: 76. While holding the shield, he can advance objectives, protect supports, and buy precious time even under withering enemy fire.
But Reinhardt isn’t just a passive wall—he’s a wrecking ball once he gets close. His Rocket Hammer swings cleave through enemies at short range, and his Fire Strike projectile allows him to poke at enemies from a distance without dropping his defense. His Charge ability lets him pin and instantly eliminate enemies (if used carefully), and Earthshatter can win entire fights if timed right.
Reinhardt’s survivability also comes from his psychological pressure. His sheer presence forces enemies to react, often causing them to misposition or commit cooldowns early. An advancing Reinhardt with his shield up is a rolling declaration: fight on my terms or retreat.
However, Reinhardt is vulnerable to high mobility and range pressure. Dive heroes like Tracer or Echo can harass him from behind his shield, and heroes with shield break like Bastion can nullify his defense quickly. Poor positioning can leave Reinhardt isolated, where his massive hitbox becomes a liability.
Despite this, when played with smart cooldown management and strong team support, Reinhardt remains one of the most durable, battle-tested survivors in Overwatch. His combination of shielding, burst damage, and control over the battlefield ensures that no matter the meta, Reinhardt always finds a way to endure—and dominate.
#1: Zarya
Zarya earns the top spot because her survivability doesn’t just rely on passively tanking damage—it turns enemy aggression into her own invincibility and offense. No other tank in Overwatch can weaponize incoming damage as effectively or as dangerously as Zarya can, making her the queen of living through fights that would destroy other heroes.
Her Particle Barrier and Projected Barrier grant short bursts of invulnerability that not only block lethal damage but also supercharge her energy meter, massively boosting her own offensive power. A Zarya at full charge doesn’t just survive—she melts enemies, forcing them to retreat or die. Every bit of damage enemies pour into her shields becomes a mistake they immediately regret.
What makes Zarya’s survivability incredible is the flexibility of her barriers. She can save herself from stuns, incoming burst, and crowd control while simultaneously protecting a vulnerable ally. Good Zarya players manage these barriers perfectly, absorbing ultimates like Pulse Bombs, Sigma Gravitic Flux, or Bastion artillery strikes without losing momentum.
In Overwatch 2, where she often plays the lone tank role, Zarya’s ability to control engagement timing becomes even more critical. She doesn’t survive by sitting back—she survives by aggressively dictating the pace of the fight, punishing overextensions, and snowballing every small advantage into overwhelming pressure.
However, Zarya isn’t flawless. If poorly managed, her barriers can be baited out early, leaving her vulnerable to coordinated dives or burst combos. Anti-healing abilities and knockbacks also pose threats when she’s isolated.
Still, in the hands of a skilled player, Zarya becomes an unstoppable force. Her blend of personal protection, team shielding, energy scaling, and pure frontline dominance makes her the ultimate survivor in Overwatch. The more enemies attack her, the stronger she becomes—and that’s the kind of survival power that defines a true tank legend.
In Overwatch, surviving isn’t just about enduring damage—it’s about mastering it. The tanks that stand out aren’t simply the ones with the biggest health pools, but the ones who turn survival into an active strategy. Whether it’s Zarya feeding off aggression, D.Va denying entire ultimates, or Orisa standing unbreakable under fire, these heroes prove that lasting longer often means winning more. Great tanks don’t just live—they dominate the battlefield with unshakable resilience. These are the heroes who hold the line, push the front, and outlast the chaos of Overwatch time and time again.


